Materials we used: Plastic sheets (0.1 - 2.0mm), aluminum barrels, auto body putty, superglue, zip kicker, different screws, plastic strips, hot glue, miliput, 2K filler from ICI autocolor, 2K bumper repair resin, moosy, super sculpey, wood bars, ball joints (k-nex) and of course lots of photos from the real droid (cgi and prop) and promo replicas .
At this point, the body is already shaped out of moosy (a dense foam). We added a layer of fiberglass and used another layer of super sculpey for the raised areas. Any imperfections were puttied and sanded down. After that, two layers of auto body filler were applied.

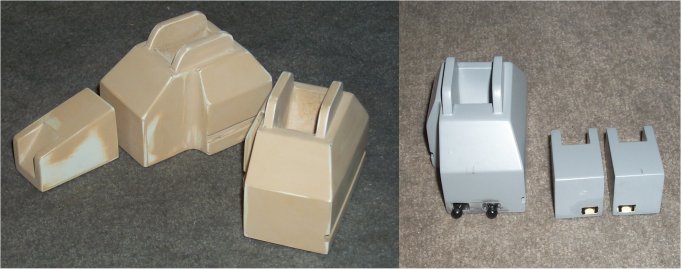
The picture above shows the technique used for most of the different Pit Droid parts. 1 shows the nearly completed basic thigh. 2 shows the inner part of the thigh with the components 2a and 2b to be added to each side.
The lower legs were contructed the same way as the thighs. The picture above shows the main pieces completed, but with still no detailing to them.
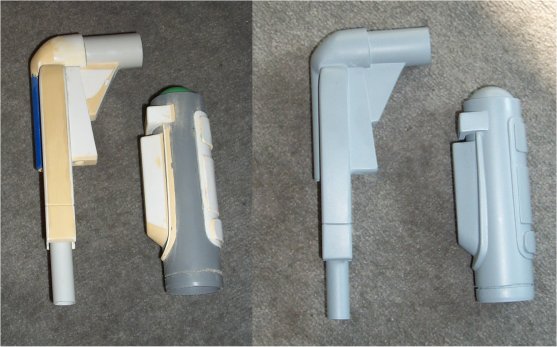
The upper and lower arm turned out to be a little more complex to builld and were revised several times. The pics above do not show the final version.
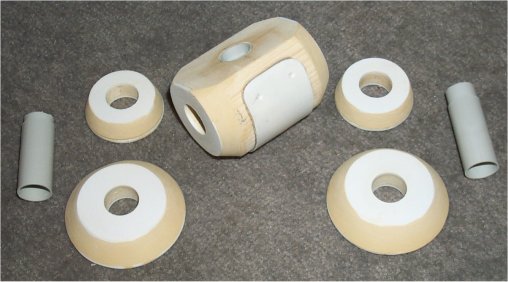
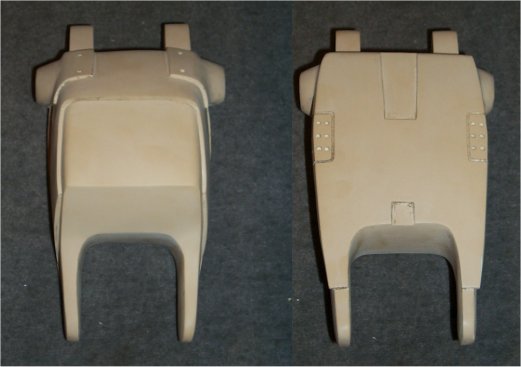
The parts of the lower hip prior to assembly
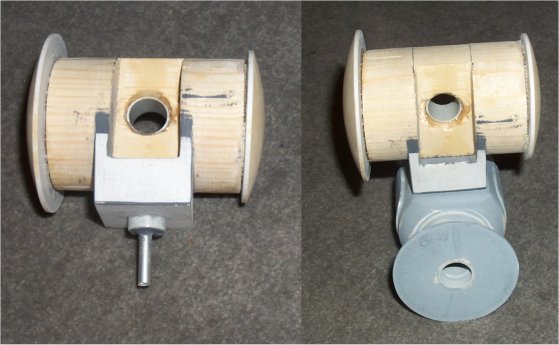
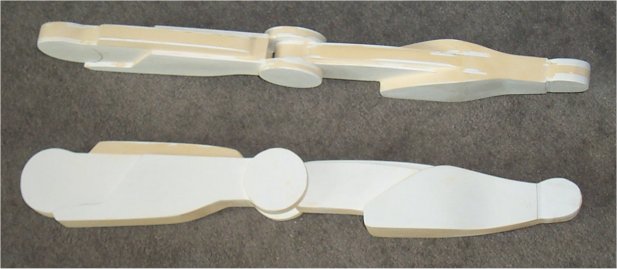
The left picture shows the upper hip part completed. The right picture shows the complete hip assembled.
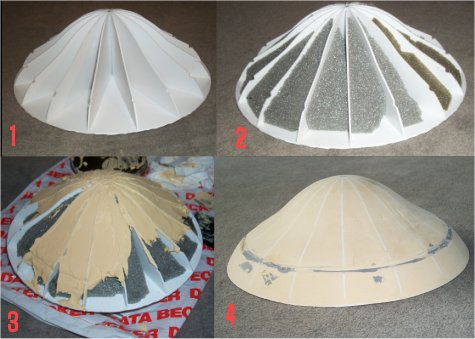
The above picture shows, how the head was done. 1 - the basic structure was built out of plastic sheets. 2 - the sections were filled with moosy. 3 - auto body putty was applied. 4 -the completed upper head prior to fillering